Installing Thermostatic Expansion Valves
Don’t assume the TXV is properly adjusted from the manufacturer
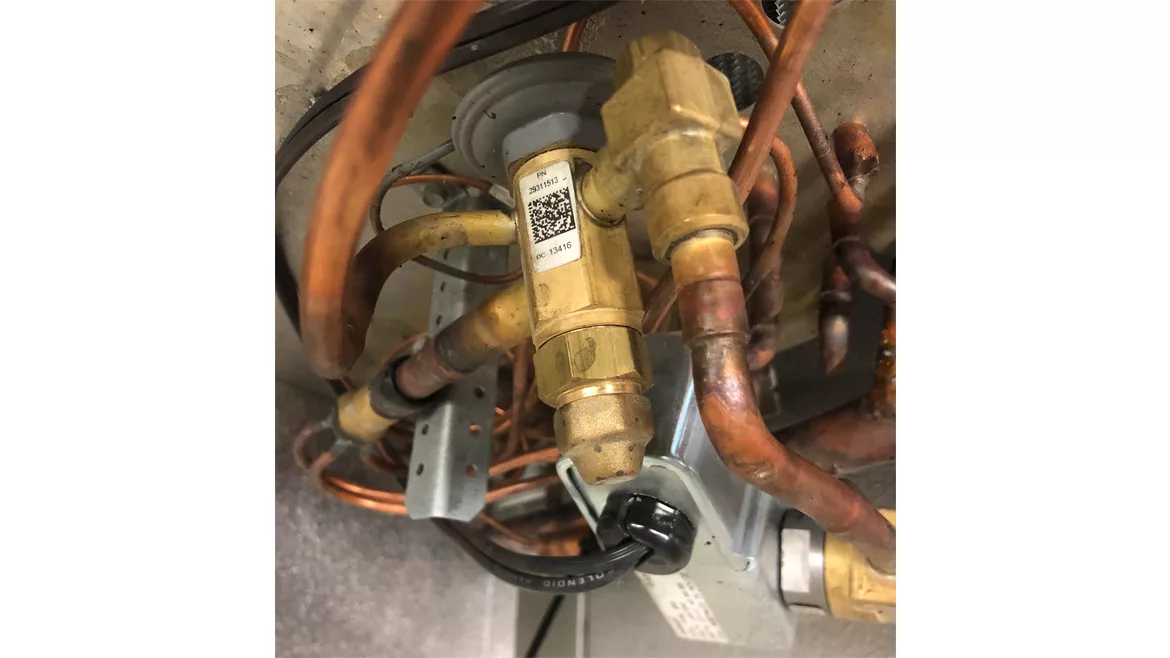
TAKE CARE: Take precautions when replacing a TXV to ensure it will function properly and maintain the required refrigerant superheat at the outlet of the evaporator. (Courtesy of Joe Marchese)
As the old saying goes, an ounce of prevention is worth a pound of cure. This is especially true when replacing a thermostatic expansion valve (TXV). Always take the necessary precautions when replacing these valves, as this will ensure the valve will function properly and maintain the required refrigerant superheat at the outlet of the evaporator.
TXVs are typically connected to the system’s piping by either a brazed/soldered or flared connection. Most valves today use a brazed connection; however, there are many older systems still in operation that use a flared connection.
When brazing/soldering TXVs, always make sure to use the appropriate filler material. This is especially important when joining dissimilar metals such as brass to copper, commonly encountered when connecting the valve’s outlet port to a distributor.
While heating the valve’s connections, care must be taken not to overheat the valve’s body, as this can easily damage the valve. Always direct the flame away from the valve body, and as an extra precaution, use a heat sink — such as a wet rag or heat sink compound — around the valve’s body. Also be sure to protect the sensing bulb of the TXV from the torch flame. While brazing, remember to use a nitrogen bleed through the connections to prevent copper oxidation from forming inside the connections.
If the valve uses a flared connection, always hand-tighten the flare nut first, before using a wrench. If the threads are damaged or misaligned, you could damage the flared connection, preventing a leak-free seal. Also, always use two wrenches to tighten the connection, as using a single wrench could cause damage to the piping.
While tightening the flare nut, it is sometimes confusing to determine which direction to turn the nut. A simple but effective method to remember is the “right hand rule.” Take your right hand and point your thumb in the direction which the flare nut needs to move. Then observe the curvature of your fingers. This will be the direction to turn the wrench.
The correct placement of the TXV’s sensing bulb is important to its overall performance and reliability. In general, the sensing bulb should be placed on a horizontal section of the suction line exiting the evaporator. If this is not possible, then it may be installed on a descending vertical section of the suction line.
Looking for quick answers on air conditioning, heating and refrigeration topics? Try Ask ACHR NEWS, our new smart AI search tool. Ask ACHR NEWS
Avoid locating the sensing bulb on a vertical riser. If a vertical suction riser is needed, then a trap should be installed at the base of the riser and the sensing bulb installed on a horizontal section of pipe before the trap. Do not install the sensing bulb on the trap or after the trap. Liquid refrigerant or a mixture of liquid refrigerant and oil boiling out of the trap will falsely influence the temperature sensed by the bulb.
In general, the sensing bulb should be attached at the 12 o'clock position on suction lines less than 7/8 inches, at the 10 or 2 o'clock position for 7/8- to 1-5/8-inch suction lines, and at the 4 or 8 o'clock position for suction lines greater than 2 inches. Never place the sensing bulb at the 6 o'clock position, because the returning refrigerant oil tends to travel along the bottom of the suction line and could cause the sensing bulb to read an inaccurate refrigerant temperature.
Avoid locating the sensing bulb on any fittings, as this may not allow the bulb to sense an even pipe temperature. Use metal clamps to secure the bulb to the suction line. Do not use any type of tape or wire ties as this will lead to a loose connection over time and not allow the sensing bulb to read an accurate refrigerant temperature.
Finally, always check the operation of the TXV by measuring the refrigerant superheat valve leaving the evaporator and adjust as required. Do not assume the valve is properly adjusted from the manufacturer.
Looking for a reprint of this article?
From high-res PDFs to custom plaques, order your copy today!


