Troubleshooting Heat Pumps Stuck in One Mode
System won’t switch from heating to cooling? The reversing valve is probably to blame.
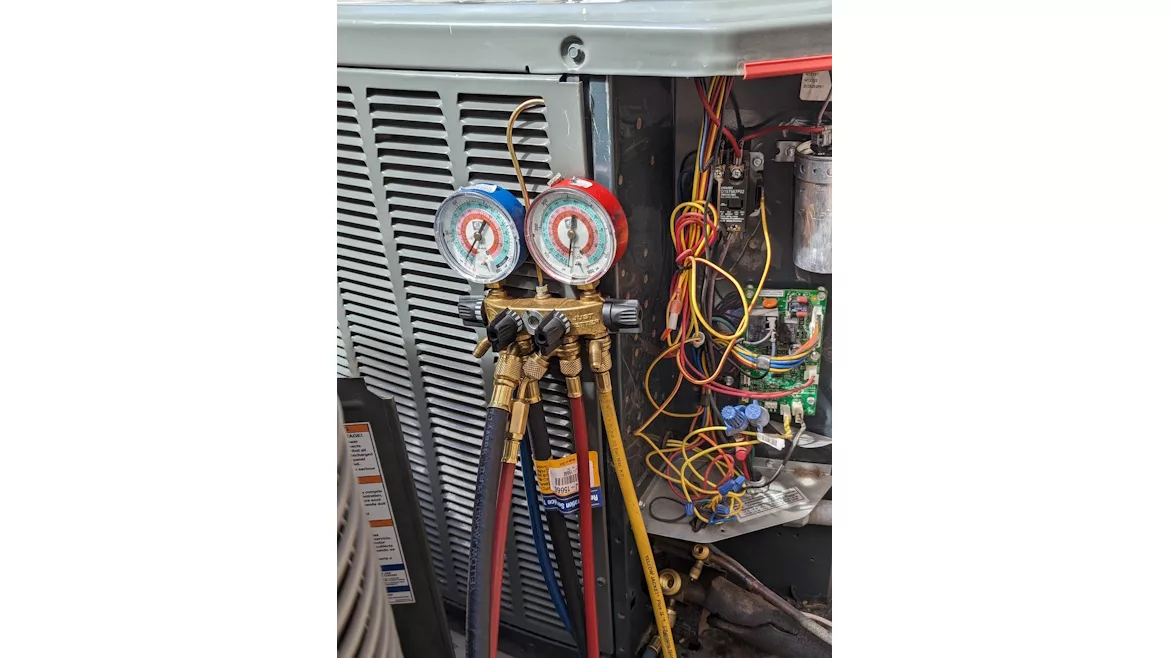
WINTER WOES: Here's how to solve a major winter issue: heat pumps stuck in one mode.
Part 1 in this series covered defrost cycle problems in heat pumps. Now, let's discuss the second major winter issue: heat pumps stuck in one mode. The customer calls and says the system won't switch from heating to cooling, or it's blowing cold air when they need heat. You suspect the reversing valve is the problem.
Accurate valve diagnostics follow the same three-goal approach: cut callbacks, protect your business from liability, and boost revenue per call. Part 2 focuses on electrical testing. Part 3 will cover mechanical assessment and internal leak detection.
Understanding the Reversing Valve
The reversing valve does one job: reverse the refrigerant flow direction between heating and cooling modes. When the solenoid energizes or de-energizes, the valve shifts, and the refrigerant takes the opposite path through the system.
Valves fail in two ways: electrical problems or mechanical problems. The electrical side includes bad solenoid coils and wiring issues. The mechanical side covers stuck sliders, damaged pistons, and internal leaks. Most manufacturers design their systems to fail in heating mode. When the coil loses power, the valve defaults to heating position. That's why a dead solenoid usually means no cooling, but heating still works.
How Valves Fail
Three specific problems cause most reversing valve failures:
- Stuck in position — slider won't move between heating and cooling, system locked in one mode
- Defective or displaced coil — solenoid burned out, moved from its intended position, or is reading the wrong resistance, no magnetic field to shift the valve
- Internal leak — refrigerant bypassing valve seals, reduced capacity in both modes with pressure imbalance
Physical Components
Seven main parts make up a reversing valve. The slider moves inside the valve body to redirect refrigerant flow. The piston drives the slider back and forth. The pilot valve alternates high pressure to the two sides of the piston. The valve seat creates the seal when the slider shifts. The support frame holds everything together. A solenoid coil sits on top and controls the pivot valve.
Port identification matters for diagnosis. Manufacturers use different labeling systems, so always check the equipment diagram or trace the connected pipes. The most common labels are:
Looking for quick answers on air conditioning, heating and refrigeration topics? Try Ask ACHR NEWS, our new smart AI search tool. Ask ACHR NEWS
Port Label |
Connection |
Purpose |
D (or A in some diagrams) |
Compressor discharge |
Always hot, supplies high-pressure refrigerant |
S (or B in some diagrams) |
Compressor suction |
Always cold, returns low-pressure refrigerant |
E (or D in some diagrams) |
Indoor coil |
Hot in heating mode, cold in cooling mode |
C |
Outdoor coil |
Cold in heating mode, hot in cooling mode |
Knowing these ports helps you run temperature tests that pinpoint internal leaks. We'll cover that diagnostic method in Part 3.
Electrical Diagnostics
Start with voltage checks. Reversing valve solenoids run on different voltages depending on the manufacturer. Most use 24-volt AC, although others use 240-volt AC. If a 24-volt transformer is located in the indoor, disconnecting live voltage at the outdoor unit will not shut down the 24 volts. Check the wiring diagram before you stick your meter leads on anything.
Measure the voltage at the coil terminals. No voltage in AC or defrost means a wiring problem or a bad defrost board. Full voltage with a cold coil means the coil is open and needs replacement.
Resistance and Click Tests
Pull the wires off the solenoid coil. Set your meter to ohms and measure across the coil terminals. Compare your reading to the manufacturer's specification. An open circuit shows OL on your meter. In that case, the coil is defective. Resistance out of the specified range means the coil is failing. Always verify acceptable resistance values in the equipment manual or manufacturer's data.
Here's the click test. With the power off, reconnect the wires to the coil. Turn the power back on and listen closely to the valve body. You should hear a distinct click when the pilot plunger moves. Kill the power again and listen for a second click as the plunger returns to the normally closed position. No clicks mean the pilot valve is stuck or the coil isn't generating enough magnetic force. Do not energize the coil unless properly mounted on the solenoid.
Operational Testing
Run the system through mode changes. Set the thermostat to heating and let the system run for 5 minutes. Switch to cooling and listen for the valve to click. The thermostat may delay the mode change. Feel the pipes at each port. The indoor coil port should switch from hot to cold. The outdoor coil port should switch from cold to hot. Discharge and suction ports stay the same.
Repeat the test, going from cooling back to heating. Both clicks should sound sharp and immediate. A delayed click or grinding noise means mechanical problems inside the valve. We'll diagnose those issues in Part 3.
One Rule You Can't Break
Never hit a reversing valve with a hammer or wrench. Some techs think they can free up a stuck slider by tapping on the valve body. All you'll do is crack the valve seat or damage the slider. That "fix" creates an internal leak and ruins a valve that might have been salvageable. If the slider is stuck, use the proper diagnostic methods to determine the cause.
Master the Electrical Side First
Test voltage, measure resistance, and listen for clicks before you move on to mechanical diagnosis. These simple checks take 5 minutes and prevent misdiagnosis. Get the electrical testing done thoroughly, and you'll catch most coil failures quickly.
Part 3 covers mechanical testing with magnets, temperature pattern analysis for internal leaks, and proper replacement procedures. ACCA provides technical training on heat pump diagnostics and system troubleshooting at acca.org. These resources give you the edge when you're troubleshooting complex failures in the field.
Looking for a reprint of this article?
From high-res PDFs to custom plaques, order your copy today!