Guest Column
Stop Swapping Parts — Start Troubleshooting Smarter
Part 1: Electrical troubleshooting — line voltage, control voltage, and the tests every HVAC tech should master
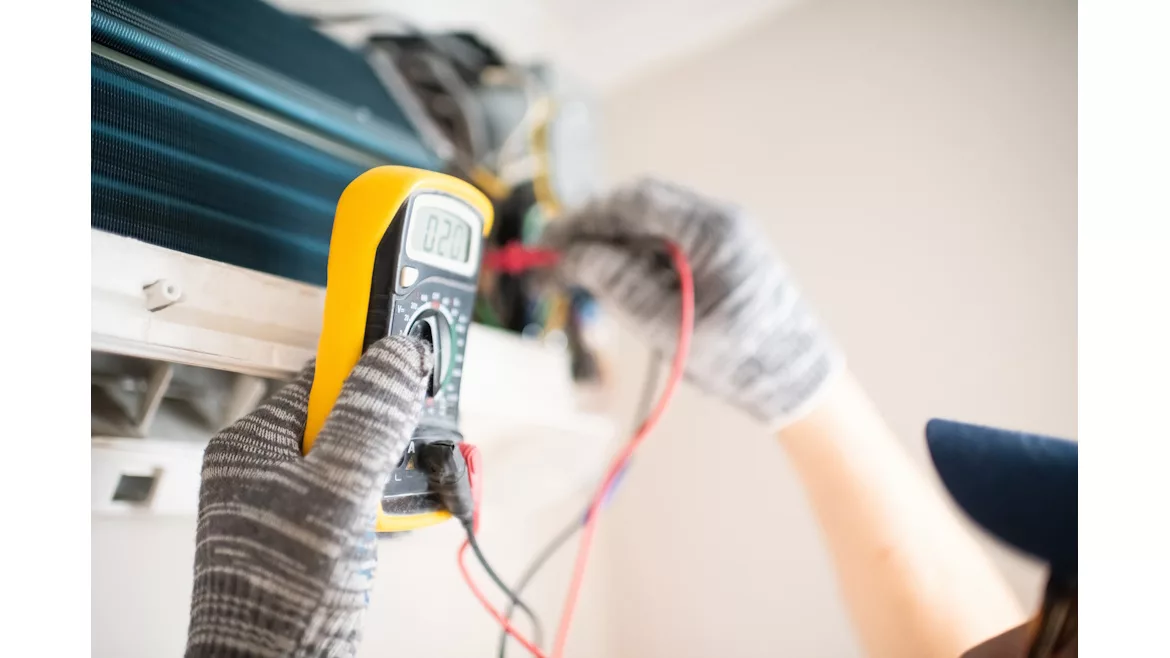
TEST FIRST: Follow these procedures before just throwing new parts at a problem.
Electrical problems are one of the most common problems encountered by technicians in the field. One common pitfall service technicians fall into is approaching the issue by testing specific electrical components without getting a comprehensive assessment of what the system is doing. Following a systematic process to troubleshoot electrical issues will decrease the time you spend solving the issue and can avoid costly and time-consuming fixes, such as replacing all of the electrical components — just to end up with a system that still doesn’t work.
A Consistent Approach To Electrical Troubleshooting
A universal procedure to quickly isolate the cause of an electrical failure is to check:
- Line voltage to the unit
- Control voltage
- Voltage to the malfunctioning component
- Circuit to the faulty component
This procedure quickly identifies some of the most common problems. In addition, it saves time by only requiring the necessary tests. Testing the line voltage and control voltage can be done quickly, and the problem is often found while performing these first two tests. If the unit has both line voltage and control voltage, checking voltage to the nonfunctional part immediately shows whether the problem is in the component or the circuit to the part. If the circuit to the component is the problem, then a routine test called hopscotching, a technique for isolating the break in a control unit, may be employed to isolate the problem.
Line Voltage To The HVAC Equipment
If the system does not operate at all, check to see that it has the correct line voltage. On split systems, be sure to check the power supply to both the indoor and outdoor equipment. Fuses and breakers can overload because of power interruptions or rapid on-off cycling. If a fuse is blown or a breaker is tripped, look for the reason, because this can indicate a problem with the unit. Any time a fuse is replaced or a breaker is reset, the system's operation should be checked meticulously. Before operating the system, check all significant line voltage loads for shorts or grounds and check the primary power wire connections. Operate the system and check the amp draw on the circuit to the unit and at each major load.
Transformer And Control Voltage
Most residential equipment uses a 24-volt control transformer. Most 24-volt control systems arrange the 24-volt control wiring so that one wire from the transformer secondary winding connects directly to one side of every 24-volt coil. This is often called the "common" side of the secondary because everything is connected to it.
Many newer systems also ground the "common" side of 24 volts to the cabinet. The other wire on the transformer secondary is typically connected to the thermostat "R" terminal, usually with a red wire. This is often referred to as the "red" side of 24 volts. Many systems place all the controls in the "red" side of 24 volts to make building and following the circuits more manageable.
If the control voltage is out, make sure that the transformer primary is receiving voltage. Next, check the line voltage to the unit housing the control transformer and look for anything that could interrupt the voltage to the transformer primary. For example, an opened or defective door safety switch on a furnace will keep the line voltage from reaching the transformer primary. If the transformer is receiving the correct line voltage, but the transformer secondary does not produce 24 volts, then the transformer is bad.
Looking for quick answers on air conditioning, heating and refrigeration topics? Try Ask ACHR NEWS, our new smart AI search tool. Ask ACHR NEWS
Safety tip: When replacing fuses, make sure to match all fuse ratings, including voltage, amperage, instantaneous current rating, and class.
Blown Fuses
If a low-voltage fuse is blown or the transformer needs to be replaced. Be sure to look for shorts in the low-voltage components. Typically, all the 24-volt coils should have a measurable resistance of more than 10 ohms.
Often, the 24-volt devices are jumped together on the common side of the transformer secondary. Ensure that the "common" and "red" sides of the controls are not wired directly together by a misplaced jumper wire.
Many manufacturers use a color code to help avoid confusion, but there is no universal color for the common side. Popular colors for low-voltage common wiring include blue, brown, and violet.
Some manufacturers use the B terminal for the common side of the transformer. Other manufacturers use the B terminal to energize reversing valves or relays in heating. They are not interchangeable. If heating is energized by connecting a thermostat heating B terminal to a unit common B terminal, you will short out the transformer.
Secondary Voltage Check
Check the secondary voltage immediately after power-up anytime a control voltage fuse or transformer has been replaced. For example, suppose an intermittent short is causing the transformer to overheat. In that case, the secondary voltage will drop very low, possibly close to zero. The transformer cannot take this for more than a few seconds, so you must recognize this condition immediately and turn off the power. Otherwise, the new transformer will burn out.
If there are no problems with power-up, monitor the secondary voltage while running the system through all its operating cycles. Sometimes the short will occur only during specific operating cycles. For example, a sudden drop in secondary voltage indicates an overload on the transformer. If the secondary voltage drops close to 0 volts, the overload is most likely caused by a short. Observing what components were operating when the control voltage dropped will help isolate what parts could be causing the problem.
If the unit does not already have a fuse in the transformer secondary circuit, adding a 3-amp fuse or circuit breaker in the secondary circuit can prevent a repeat transformer failure.
Understanding electrical troubleshooting will give you more confidence in your role as a service technician, reduce the frequency of callbacks, and result in happier customers.
Stay tuned for “Part 2” of electrical troubleshooting, where we will dive into testing voltage loads, hopscotching, and checking controls and switches.
Looking for a reprint of this article?
From high-res PDFs to custom plaques, order your copy today!


