Seven Steps for Successful Duct Renovations
University of Alabama head football coach Nick Saban knows how to get results. He has six national championships to prove it. What’s ironic is that Saban doesn’t focus on winning championships. Instead, his teams and staff focus on what he calls “The Process.”
Because Saban has a process, he knows what he can and can’t control. He also keeps score of various metrics to assure his entire team is moving in the right direction. When problems arise, they back up observations and results with data and then deal with them.
Our industry can draw many parallels from the example of Nick Saban’s process. When it comes to duct renovations, if you don’t know what your expected outcomes are and what needs to happen at each moment to achieve them, you’ll rarely have consistent success.
In this fourth article in the “Defining Duct Renovation” series, let’s examine how having your own process is important to successful duct renovation and seven steps you can take to ensure your success.
Why Are You Here?
Before you begin any duct renovation, you need to know why you are at the customer’s home. The following seven steps hinge on the answer to that question. Depending on your response, the details will be a little different.
Sometimes, you might be on-site for an equipment related issue, such as a service or sales call. Duct renovation isn’t an option yet because the customer doesn’t know it exists. Testing and diagnostics are much simpler and there are fewer steps in this scenario because you must generate customer interest first.
In the second situation, there is a known issue. The customer is paying you to perform full airflow testing, diagnostics, and system design (ACCA Manuals J, S, and D). This is a higher level of testing and investigation. You help guide the customer to the best solutions that fit within their budget based on design and testing results.
Looking for quick answers on air conditioning, heating and refrigeration topics? Try Ask ACHR NEWS, our new smart AI search tool. Ask ACHR NEWS
This is where the seven steps come in. Let’s highlight each of them.
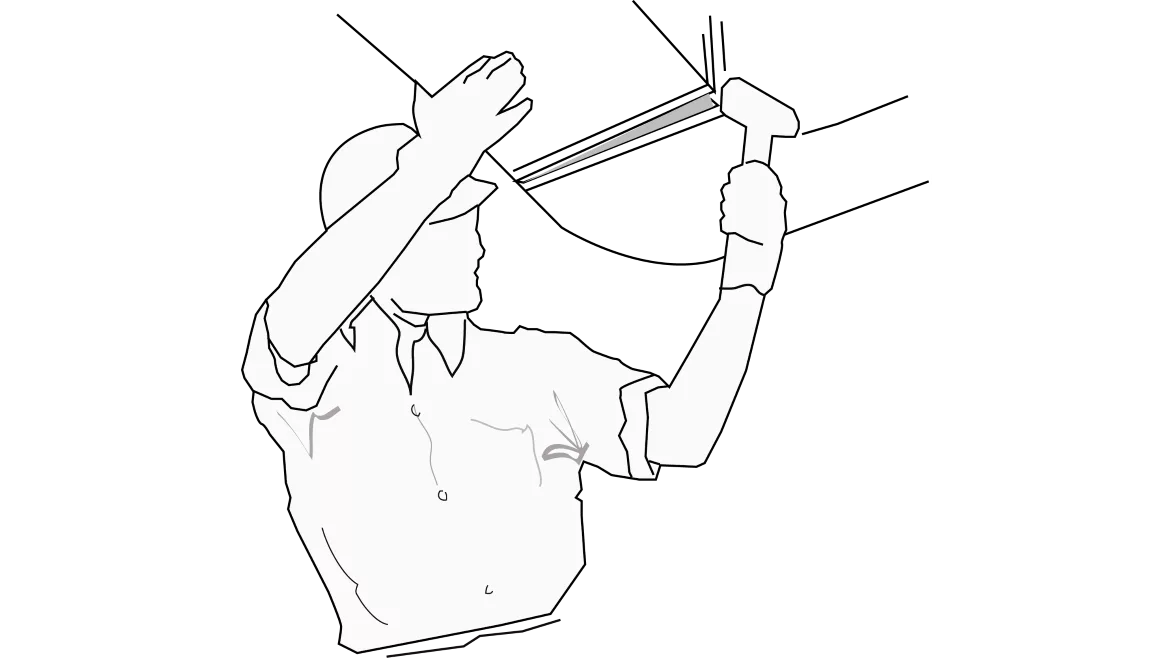
Step 1: Perform a Visual Inspection
During this discovery process, include the customer as much as possible. But be smart. Don’t ask them to crawl around in an attic or other places with you that might cause injury.
One way to get the customer involved in the visual inspection is to let them show you around as you inquire about their system. Stay general in your observations at this point. Don’t get “tech-y” until you have test measurements and data to back up your findings.
Document whatever stands out and take photos. It’s a good idea to carry around a clipboard or tablet to capture as much information as possible. Some companies videotape the entire visual inspection and capture observations about building construction, equipment size, duct location, and how to access them.
Step 2: Measure the System
After completing the visual inspection, it’s time to put data behind your observations. Each measurement should have a reason and provide information that answers a question and gets you one step closer to a solution.
Use your measurements to discover and paint a picture of existing issues. You’ll find a lot with a visual inspection, but measurements quantify severity and guide you to the source. As you proceed, keep measurements in context. Incomplete or out-of-context measurements are some of your biggest troubleshooting enemies.
If you haven’t yet established the need for duct renovation and are taking first-time measurements, you’ll likely stay close to the air handling equipment and measure static pressure and fan airflow. These foundational measurements are the beginning of any duct renovation. With the information these measurements provide, you can start a conversation with the customer and confidently determine the work scope for an air upgrade.
If you have already taken these measurements and established the need for duct renovation, then you’re getting paid to perform full airflow testing and diagnostics. Your measurements will extend from the air handling equipment to the duct system as you use an airflow hood to measure at supply registers and return grilles. Compare your readings to design calculations and see how far off you are. Many high-performance contractors also look at system temperatures to gauge duct temperature losses and gains.
Sometimes it’s necessary to skip certain tests due to time constraints, access limitations, or other unforeseen obstacles. If you find yourself in this predicament, be sure to go back and capture the information later.
Step 3: Diagnose Your Readings
Compare each measurement you take to a target or baseline so it has meaning. This is where manufacturer equipment specifications and design data come in handy. They are the most reliable source of information. However, you might find yourself in a pinch and need to make certain assumptions and use some rules of thumb. If you find yourself in this situation, be upfront with the customer, document these speculations, and find reliable data to replace them.
Have the customer diagnose the readings with you. Be their guide so they can see those measurements with the largest variation. Your most powerful advocate is a customer with a test instrument in their hands who knows what the readings mean. Put an airflow hood in your customer’s hands or give them a tablet running the MeasureQuick or TrueFlow apps and wait for them to explain what they’re seeing.
Once you diagnose the readings together, it’s time to consider solutions. Sometimes, repairs and/or adjustments will be simple. Other times, they will be more complex and require new equipment and duct optimization. You won’t know for sure which is the best choice until you measure and diagnose your readings.
Step 4: Discuss Options With the Customer
NCI
My NCI colleague David Holt has my favorite advice when it comes to discussing options with the customer. He says, “Put yourself in the customer’s shoes and look through their eyes.” This simple statement changes the entire context of customer discussion.
Your approach shifts as you focus on the customer’s best interests and wants while looking for what is right first. Remember, sometimes, customers freak out about having a major expense to repair or replace equipment. Don’t make them feel like you’re piling on more. Instead, help them see how to protect their new investment or repair. Empower them with the knowledge they need to make a wise decision and then support them.
The customer’s decision determines your next steps. You may perform an air upgrade, undertake further airflow testing and design work to quote duct optimization, or do nothing. Remember, sometimes “no” means “not now,” so don’t give up. There are other times the house will just beat you and an air upgrade at the equipment is the only option available without major construction work.
Step 5: Communicate the Scope of Work
Your job now is to fulfill the customer’s expectations and communicate those expectations to everyone involved in the duct renovation project. There are two scopes of work — one for the customer and one for your team.
The customer’s scope should stick to a few key features that they want fixed the most. Customers typically want the solution and don’t care how you get there. Be transparent and get their approval. For example, if you need to cut an access panel, get permission first and use painter’s tape to help them visualize the location.
Once the customer understands the high-level scope of work and agrees to it, it’s time to ensure your renovation team has all the information to get the job done. Most renovations fail during the hand-off from sales. Pay special attention to this transition.
It’s easy to get excited about the sale and forget the basics, such as getting the right materials ordered. Don’t forget to capture specific customer requests and let the renovation team know what’s expected. The smallest detail in your eyes might be what’s most important to the customer. That’s another reason to remember the basics which include details such as where to park, pets in the home, rooms to avoid, and times to be out of the home.
Step 6: Perform the Duct Renovation
The reward for your testing and design work takes place now. It’s where all the pieces come together and you solve the customer’s issues. While this is a single step, it is the most involved and has many opportunities to go wrong. Here’s where your process will show its strengths and weaknesses.
Installers make the magic happen. In many companies where duct renovation is their culture, duct renovators perform the needed repairs. If equipment upgrades are also in order, the installation team will take care of this piece. We’ll talk more about duct renovators and how they are the missing link in this process in next month’s article.
You will thank yourself by keeping track of the work that needs to be done. You’ll turn this into a renovation to-do list. Keep it simple but be specific — drawings and photos help a lot. If you want to take it over the top, do a walkthrough with everyone before the first piece of duct moves.
Once work begins, put on a show. Customers appreciate respect towards their home and attention to detail. Neatness goes a long way. Most don’t understand what you’re doing, but they know if the work area is tidy and looks good. They also know if you leave a mess once the work is complete.
Step 7: Test Out and Verify
Testing out is how you make the results of a duct renovation visible and why this step is so important. It’s the proof. It is also the step most often skipped. Design without verification is incomplete and leaves a gaping hole between expectations and outcomes. Some of your team will be uncomfortable with this approach, while others will love it.
Measure or test out and verify whatever you measured during your test in. Compare before and after results. If you perform a full duct optimization, the entire system gets tested on a room-by-room basis and often includes air balancing. If you perform a simple air upgrade, static pressure and fan airflow will probably be the only airside measurements you capture at the equipment.
The purpose of the test out and verify step is to ensure you made an improvement. If you did, share this information with the customer in a simple report personalized for them. If the results didn’t meet expectations, it’s time to dig deeper and make additional repairs to hit the targets.
Start Small
I hope these abbreviated steps give you an idea of how to do a duct renovation from start to finish. Are there missing details? Of course. It would take an entire book or multiple courses to cover all the details in this process. The important takeaway is to build your own process that helps your team and staff focus on the essential daily details needed for successful duct renovations.
Genuine experience and growth come from repeatedly doing the right things. Start small and begin with your own installations first. It gives you a chance to practice. Tweak them and then offer duct renovation services to your maintenance agreement customers and those you have a relationship with. They trust you and will be glad you’re working to improve your services and craftsmanship.
As with anything we do, duct renovation is not a silver bullet. Instead, it’s an important piece of the overall comfort system. I hope these steps provide you with mile markers on your trip to mastering duct renovation. Don’t focus on winning championships. Instead, focus on your process, and the results will eventually come.
Looking for a reprint of this article?
From high-res PDFs to custom plaques, order your copy today!


