Understanding HVACR Brazing Indicators
How to ensure connections are done correctly
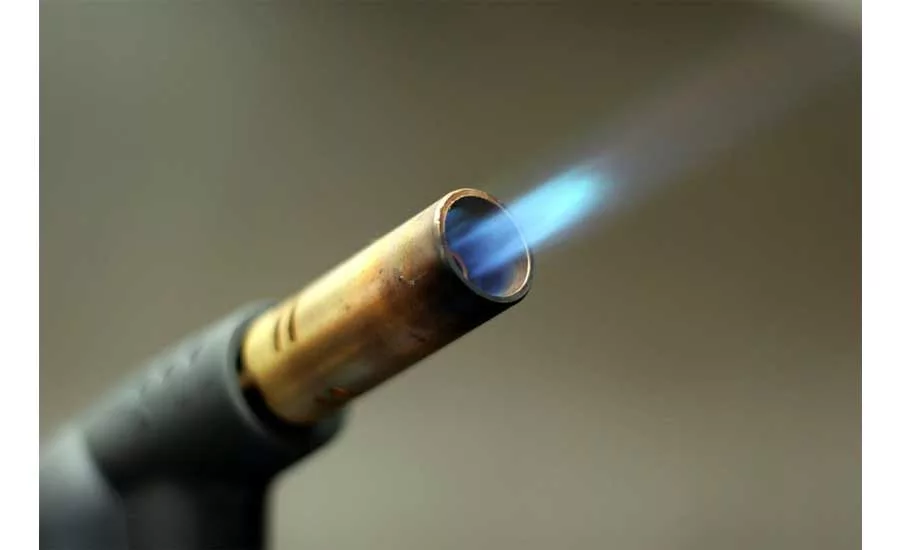
In brazing and soldering tubing, we have a few things we need to accomplish to make a proper connection:
- We can’t overheat the joint to the point that it overheats the base metal or the flux where applicable
- We must bring the entire joint above the melting temperature of the brazing alloy
- We must draw the alloy deep into the joint
New techs often underheat, overheat, or take too long to complete a joint because they don’t use visual cues to apply the alloy at the proper time.
Every metal and alloy responds a little differently, but we always use indicators of some sort to know when to start and stop.
Some things you need to know before making a connection are:
- What is the melt temperature of the base metal?
- What is the working temperature of the alloy?
- Is flux required, and is it external or integral to the alloy you are using?
- What is the thermal conductivity of the metals?
Most metals we work with will respond to heat in the same way with a color change shown in a color chart. Notably, aluminum will show no change in color before it hits its melt point.
Copper to Copper
Copper to copper connections require no flux when rods that contain phosphorus are used. This is why rods using a small amount of silver with the remainder of the rod being made of copper and phosphorus are common.
Most of these phos/copper alloys have a working temperature around 1200°F and copper has a melting temperature of around 1950°. A quick look at a technical color chart will show you that a good brazing indicator would be copper in the “cherry” range of 1175 – 1275° when applying the rod.
Copper to Brass
Brass is a metal that is made up of a mixture of copper and zinc. Brass has a lower melting point than copper but is great for casting, so many valves and other refrigeration components will be made of brass. It is preferable to use a high silver content alloy with either an external flux or a flux coated rod.
You will then heat up both sides of the joint until you see the proper color on the copper, and to a lesser extent in the brass as well. The flux will also act as an indicator because it will go completely clear and flat, giving both base metals a “wetted” look at about 1100°F (for most appropriate fluxes). Both the color change and the clear flux can act as indicators that the temperature is correct on copper to brass.
Looking for quick answers on air conditioning, heating and refrigeration topics? Try Ask ACHR NEWS, our new smart AI search tool. Ask ACHR NEWS
Copper or Brass to Steel
Working with copper or brass to steel will definitely require a brazing alloy with no phosphorus and flux. Steel changes color in much the same way as copper but it has less thermal conductivity, which means that the heat you apply tends to concentrate in one spot rather that travel the way it does with copper. Steel doesn’t melt until 2500° but the working range for the flux is generally 1100° – 1600° (depending on brand/type), so you can easily overheat the flux when working with steel as well as bump into the copper melting temperature of 1950° if you aren’t careful.
When working with copper or brass to steel use the metal color in that “cherry” zone as well as the quiet, clear flux as an indicator of proper brazing temperature.
Aluminum
Aluminum gives you no indication of when it’s going to melt, which makes it more tricky to work with. It also melts at 1220°, which means that if you are working with aluminum to other metals you are in the danger zone as soon as there is any redness in the other metals. In brazing aluminum to aluminum, patching aluminum or working with aluminum to other metals, you need to rely heavily on the aluminum flux to tell you when it is time to apply the alloy.
In all cases we are looking for visual cues rather that overheating and damaging the base material or burning flux or underheating and globbing up rod onto the joint.
Submit your own guest content here!
Looking for a reprint of this article?
From high-res PDFs to custom plaques, order your copy today!


