The Trouble with TXVs: Diagnosing the Problem
Technicians need to be patient when adjusting TXVs in refrigeration systems
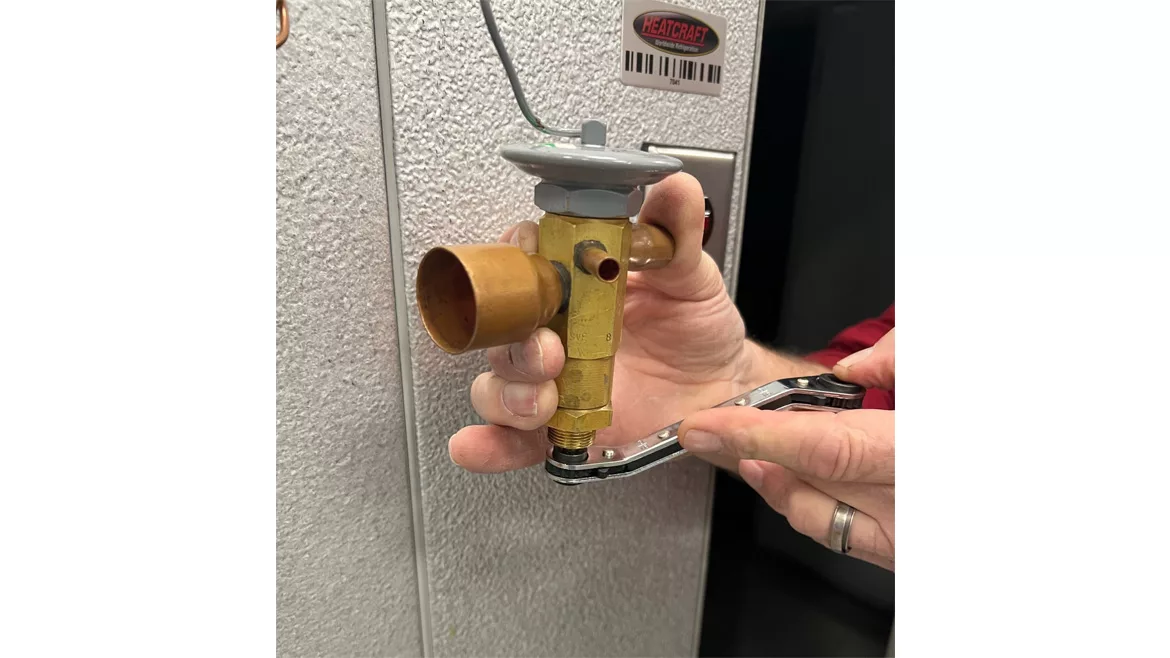
PRESSURE DIFFERENCE: When increasing or decreasing the system superheat at the TXV, technicians should only make one-quarter turns at a time and be patient between adjustments. (Courtesy of Heatcraft)
At one time or another, every technician has run into a refrigeration system that is not functioning properly. The question then becomes how to diagnose and determine if the problem is the thermostatic expansion valve — also known as the TXV.
Understanding the purpose of the TXV makes the diagnostic process easier. While the compressor is the heart of the system, causing the refrigerant to circulate, the TXV allows the system to work by creating the pressure difference between the high- and low-pressure sides of the refrigeration system.
The TXV is composed of an orifice with a modulating needle valve that controls the volume of refrigerant through the valve. The valve will modulate based on three controlling pressures:
- A spring below the needle valve has an adjustment stem that increases or decreases the spring pressure;
- At the top of the valve is a power head with a sensing bulb that is gas charged, exerting pressure on the diaphragm of the power head. The sensing bulb measures the temperature of the suction line at the evaporator outlet. The power head pushes downward on a push rod, transferring pressure to open the needle valve; and
- A port on the side of the valve is connected to the suction line on the evaporator outlet known as an equalizer line, allowing evaporator pressure to push upward on the power head diaphragm.
So, the spring pressure is trying to close the valve, the diaphragm pressure is trying to open it, and the suction pressure applied to the diaphragm is also trying to close it. These three pressures work together to create a balancing act, modulating the refrigerant flow through the valve and controlling the superheat in the evaporator coil.
DIAGNOSIS
The first step in determining if a TXV is functioning correctly is to monitor the pressures of the high and low side of the system while in operation. If the system has a sight glass, check to see if there is a full column of liquid to the TXV. If not, there may be a refrigerant charge problem. Also, check the compressor amp draw to see if it is close to rated amps.
For TXV diagnostics, the sensing bulb, if horizontal, should be in the 9 to 3 o’clock position — never on the bottom of the line. If it is in a vertical position, the cap tube should be at the top of the bulb. Attach an accurate temperature probe on the suction line close to the sensing bulb. Record the suction pressure and suction line temperature and determine the current superheat.
Remove the sensing bulb from the suction line and warm it up — dropping it in a container of warm water works well. This will increase the pressure in the power head and there should be an increase in suction pressure while the suction line becomes much colder. The superheat should begin to decrease.
If the valve does not respond, there are two possibilities: 1) a power head could be starting to fail, or 2) contaminants might be causing the valve’s internal components to not move properly. A power head that has completely lost its charge will force the valve completely closed, allowing no refrigerant to pass and causing a pump down situation. If the power head is removable, replacing the power head will solve the problem.
Looking for quick answers on air conditioning, heating and refrigeration topics? Try Ask ACHR NEWS, our new smart AI search tool. Ask ACHR NEWS
If the valve is responding, then adjusting the valve spring pressure to set the superheat should correct the problem. Turn the stem clockwise to increase and counterclockwise to decrease the system superheat. Only make one-quarter turns at a time and be patient between adjustments. Allow the valve time to stabilize and bring the superheat into the desired range. A sticking valve will need replacement and the cause of the contamination will need to be corrected.
Make a final superheat check and adjustment after replacement once the box reaches desired temperature. After any component replacement, remember to replace the liquid line drier and pull a good vacuum on any opened part or all the system.
Looking for a reprint of this article?
From high-res PDFs to custom plaques, order your copy today!


