Preventing ductwork from getting dirty during construction
The phone rings and it’s the general contractor from a job where you performed ductwork fabrication and installation over four months ago.
He says the ductwork needs to be cleaned before the system can be started. Your first thoughts are “It was clean when it left the shop. Why is it my fault that it’s full of construction debris?”
This starts a process that many sheet metal works contractors go through on a regular basis.
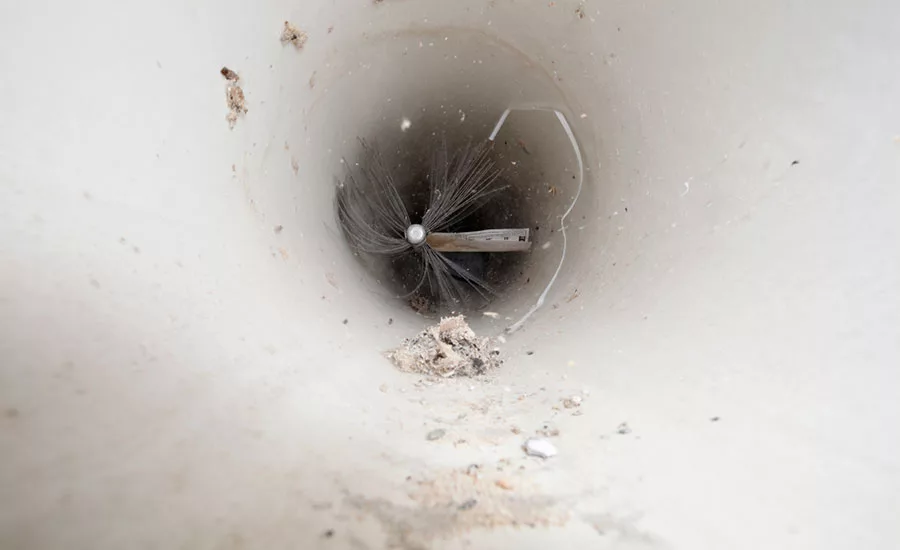
You go the job and see that the mechanical HVAC construction contractor has everything hooked up and they were heating — or cooling — the building for days. The ductwork is full of dust. The general contractor says it’s the mechanical contractor’s responsibility. The mechanical contractor says it’s your problem.
Someone was supposed to “purge” the system” — like that would clean out heavy gypsum wallboard dust. Where things go from here varies, but the end result involves a rush to get an HVAC construction duct cleaning company in and determine who’s going to pay for something no one considered in creating a bid.
How could such a situation have been prevented?
The Sheet Metal and Air-Conditioning Contractors’ National Association’s guidelines on duct cleanliness for new construction defines levels of “clean.” The first one, “basic,” would be used in exhaust ducts, warehouse and low-occupancy storage spaces. The “intermediate” calls for the internal surfaces to be hand wiped and the ends sealed while work is under way. The “advanced” level calls for the ducts to be sealed from the shop, at the job and as work progresses; the last end would remain sealed.
The intermediate and advanced levels are the ones where all the trouble starts.
If you follow the advanced protocols and keep the ducts sealed, the general contractor can’t use the system to heat or cool the building. This isn’t a problem if they have temporary HVAC construction units as most contracts call for. But to save money many contractors will run the new systems as soon as possible. Putting temporary filters at the air-handling unit sounds good but does nothing to prevent the return ducts from getting contaminated.
Yes, no, maybe
Are there any ways to use the new system and prevent it from getting contaminated? Yes, no and maybe. Not using the system at all will work — as long as all the openings are sealed. Even with a HVAC market system that is not in use, unsealed ducts could have the “chimney effect” where the dusty hot air uses the ductwork as an exhaust site, especially with riser ducts. Installing pleated filters at all of the return duct openings could help, but if they are not changed and get clogged they will collapse and dump the dust into the HVAC construction system.
One way that works fairly well is to not connect the return duct to the air-handling unit and use 100 percent fresh air. This will also keep the building positive and keep the outside site dust from entering the building. Once the walls are up and painted, perform the final connection.
So what if the ducts may be contaminated and it looks like you’re going to be responsible for the cleaning. What next? The SMACNA guidelines say “How clean or dirty a duct system is can be very subjective and difficult to standardize measurement. Duct cleaning specifications and accurate verification measurements to quantify acceptable levels of contamination are still being refined and can be quite detailed involving special laser particle counters.”
Back in 2000 when this was written it may have been somewhat true, but today the National Air Duct Cleaners Association has a standard for “Assessment, Cleaning and Restoration of HVAC Systems,” better known as “ACR.” Download it at www.nadca.com.
Methods
NADCA’s restoration standard has three methods of “cleanliness verification”:
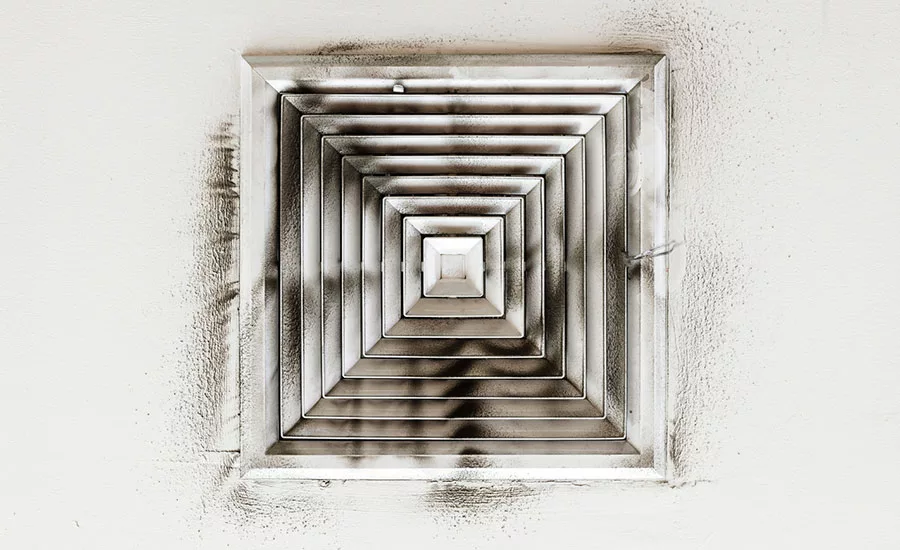
Method No. 1 is visual inspection. NADCA describes “visibly clean” as being “free from non-adhered substances and debris. This method can be subjective and if disputed then it is recommended that method No. 2 is used.
Method No. 2 is surface comparison. There is a protocol to follow that basically says you manually vacuum a surface area and compare the vacuum area with the adjacent area. The duct is considered clean if “there is no significant visible difference in the surface characteristics.”
If this test is inconclusive or disputed, then method No. 3 should be used.
Method No. 3 is the NADCA vacuum test, which used to “scientifically evaluating particulate levels of non-porous HVAC component surfaces.” The protocol is well described in the cleaning standard and there is a video available to show you exactly how to perform the test. It does involve the use of a vacuum pump kit, a template and pre-weighed filter cassettes. The cassettes have to be sent out to a lab to be weighed and this may take several days, but the results are conclusive.
The NADCA vacuum test can only be used on flat duct surfaces. Round ductwork does not allow the cassette to maintain contact with the template, so the test results are not valid. The surface-comparison test can be used on any surface: flat, round or transitions.
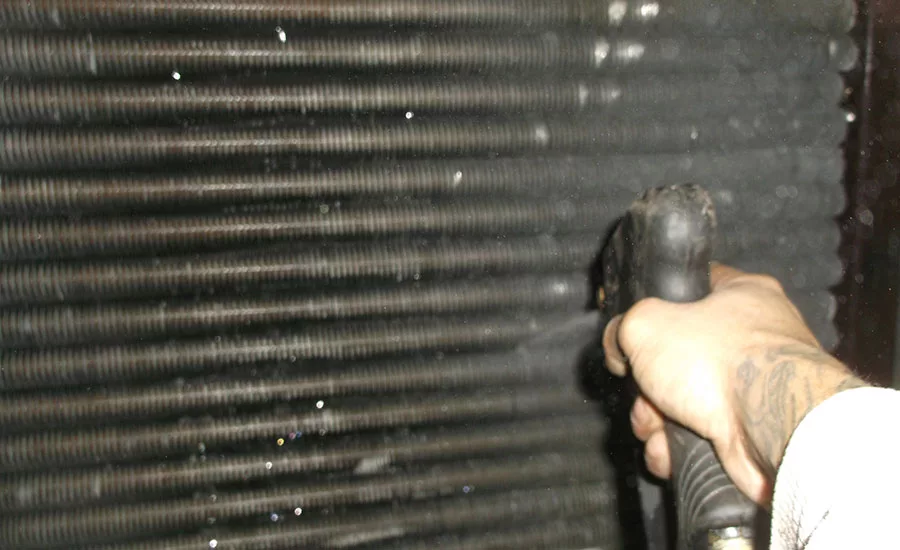
Sometimes HVAC construction ductwork can look clean but someone has run his or her wet fingers across the interior surfaces and left a line in the duct. For ducts in cleanrooms and hospitals, this is usually not acceptable. If the contract documents say the ducts must “pass the NADCA vacuum test,” it is possible they may be OK. If the contaminates are adhered to the duct surface, such as when ceilings are sprayed and the material goes inside the drops or openings, they may pass the surface comparison or vacuum test.
Cleaning methods No. 2 and No. 3 were designed for dealing with a “non-adhered substance.” This is described in ACR as “any material not intended or designed to be present in an HVAC system and which can be removed by contact vacuuming.”
Building the cost of HVAC market duct cleaning into your quote may price you out of a project. Hoping that the ducts stay clean may cost you your profit if you’re stuck paying someone else to clean them. Prevention is your best option.
Looking for a reprint of this article?
From high-res PDFs to custom plaques, order your copy today!


