Warning: Disconnect the main electrical power to the unit before attempting any maintenance. Some systems may have more than one breaker such as a split air conditioner. Failure to disconnect the electrical power may result in equipment damage, personal injury, or death.
Filters
1.Keep the air filters clean. A new home may require more frequent filter attention until dust from construction is removed.2. Replace glass fiber filters when dirty.
3. Clean semi-permanent plastic impregnated fiber filters by:
a. Vacuum cleaning; or
b. Washing with detergent and water, air drying thoroughly, and reinstalling.
Important: Do not operate any system without filters.
Note: If an electronic air cleaner is installed, remove any mechanical filter from the air handler or furnace. Follow the maintenance instructions furnished with the electronic air cleaner.
Lubrication
In today's products, indoor blower motor bearings and outdoor unit fan motor bearings are pre-lubricated by the motor manufacturer.For motors with oiling ports: Add 10 to 20 drops of electric motor oil or an SE grade, non-detergent, SAE 10- or 20-grade motor oil to each bearing:
a. Every year for continuous duty;
b. At least every three years for somewhat continuous duty; or
c. At least every five years for light duty.
To access oiling ports or to relubricate the sealed bearings of the indoor blower motor, remove the blower assembly.
For access to the outdoor fan motor, remove the unit top and turn the motor onto its side with the oil ports up.

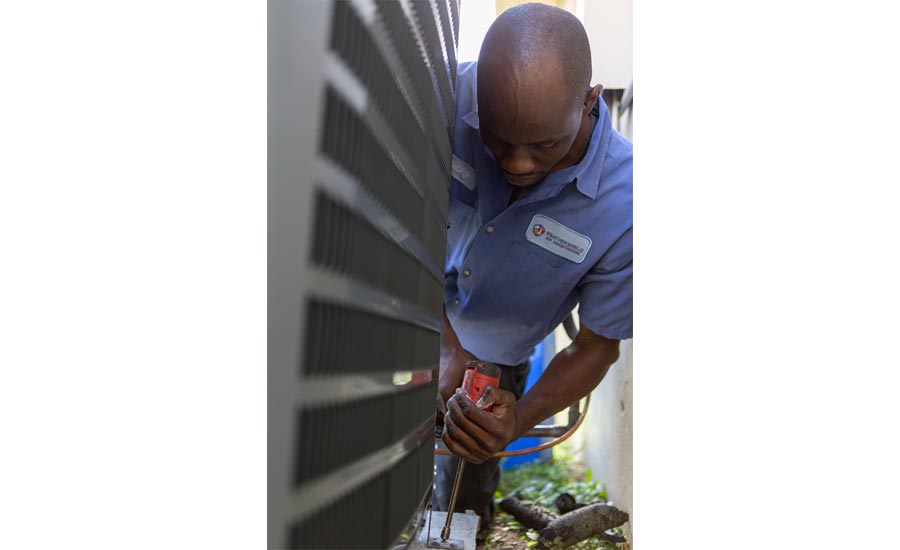
Outdoor Coil Cleaning
Keep the outdoor coil clean for complete airflow and proper operation. Do not allow leaves, grass clippings, or other material to obstruct the coil. Do not allow anything to block the coil. Keep fences, shrubs, or other obstructions at least 24 inches from the coil air inlets.If the coil becomes obstructed, clean it with water from a garden hose.
a. First turn off electrical power to the outdoor unit.
b. Remove the top with the outdoor fan attached.
c. Flush water through the coil from the inside out.
Note: Do not get water on any controls or other electrical devices. If any electrical component gets wet, dry it thoroughly before energizing.
d. Replace the top and turn on the electrical power.
There are commercial coil cleaning solvents. Follow the solvent manufacturer's instructions when using. Normally the solvent is sprayed onto the coil. Allow several minutes for the solvent to dissolve any organic matter. Wash away the solvent and any dissolved matter with water from a garden hose.
Never use a weather cover over the outdoor unit. The unit is designed to operate outdoors. A cover traps moisture in the unit, which can cause rust and corrosion.
There is the added danger of starting the system with the cover on. This prevents airflow through the outdoor coil causing excessive system pressures. Compressor damage can result.
Indoor Coil Maintenance
Inspect the indoor coil at least once a year for cleanliness, and clean as necessary.1. The coil can be cleaned when dry. If it is coated with lint or dirt, blow compressed air or nitrogen (never use refrigerant) through the supply air side of the coil fins. Place a sheet of metal
or cardboard under the return air side of the coil to catch any debris before it gets into the furnace or air handler.
2. If the coil is coated with oil or grease, clean with a mild detergent and water solution. Rinse thoroughly with clear water. Be careful not to get water into the furnace or air handler.
3. After cleaning the coil, inspect the drain pan and condensate line. Remove any debris from the pan and flush with clear water.
4. Use high-pressure water to clear any clog in the condensate line.
Important: Do not use caustic household drain cleaners in the condensate pan or near the indoor coil. These drain cleaners can quickly damage the indoor coil.
Inspect Ductwork
Check the duct system and seal any noted leaks. Air leakage of only 3 percent in a return duct can cause a 5 percent loss in system capacity. A 3 percent leakage rate on a 3-ton system is only 36 cfm. Two or three unsealed "S" or "drive cleat" joints can cause this much leakage. Sealing the return and supply ducts pays dividends in increased system capacity and lower operating costs.Electrical Checks
Inspect the system's electrical wiring and check for loose connections. Inspect the contactor for pitting and replace if pitting is observed. Inspect the conditions of wiring and connections for evidence of overheating. A discolored connection equates to a bad connection. Inspection and/or testing of capacitors should also be done. Any capacitor showing evidence of leakage must be replaced.Motor And Fan
Check the motor bearings. If the motor bearings are showing wear, the motor should be replaced before failure occurs. Inspect the fan blade. If visible cracks or missing balancing weights are detected, replace the fan blade.
Refrigerant Charge
Check system refrigerant charge. Before checking the charge:1. The indoor conditions must be within 2 degrees F of the desired comfort conditions.
2. Ensure adequate indoor airflow before checking charge.
3. Run the system until the operating conditions stabilize (about 5 minutes).
If the system is undercharged, add refrigerant. If overcharged, remove refrigerant.
Other Considerations
The technician should also flush the condensate drain and observe any changes to the user's lifestyle that may impact system performance (these might include a room that is no longer used where the homeowner has closed the diffuser).Finally, a record should be kept of all maintenance and repairs made to the system. It is always helpful to have a history of the system, especially when a customer has a question.
Reprinted with permission from the Split System Residential Air Conditioners service manual from Rheem Air Conditioning Division, Fort Smith, Ark. For more information, visit www.rheemac.com.
Publication date: 09/06/2004

Report Abusive Comment